
 Ryan Zhang's Blog


Installing an FTP Service on XC Operating Systems

Translation Notice
This article was originally written in Chinese and translated into English with the assistance of AI. The translation has been reviewed and edited for clarity, accuracy, and readability. Please refer to the original source where necessary, especially for technical terms, commands, configuration details, and proper nouns.
As the 2027 IT-modernization transition milestone approaches, more public institutions and state-owned enterprises are replacing existing operating systems with domestic alternatives. Meanwhile, because CentOS has reached end of life (EOL), many existing servers need to migrate.
The major independently controlled domestic operating systems currently include:
- OpenEuler
- Anolis OS
- KylinOS
- UnionTech UOS
In network-operations environments, many network devices still rely on FTP servers for log and configuration backups, so a stable and reliable FTP service remains necessary.
1. Install the FTP Service
Recommended: vsftpd
Advantages:
- High security
- Stable and mature
- Low resource usage
- Good compatibility with domestic operating systems
2. Offline Installation (Recommended for XC Environments)
XC environments are typically isolated from the Internet and cannot connect to mirror sites, so RPM installation is recommended.
RPM download: https://rpmfind.net/
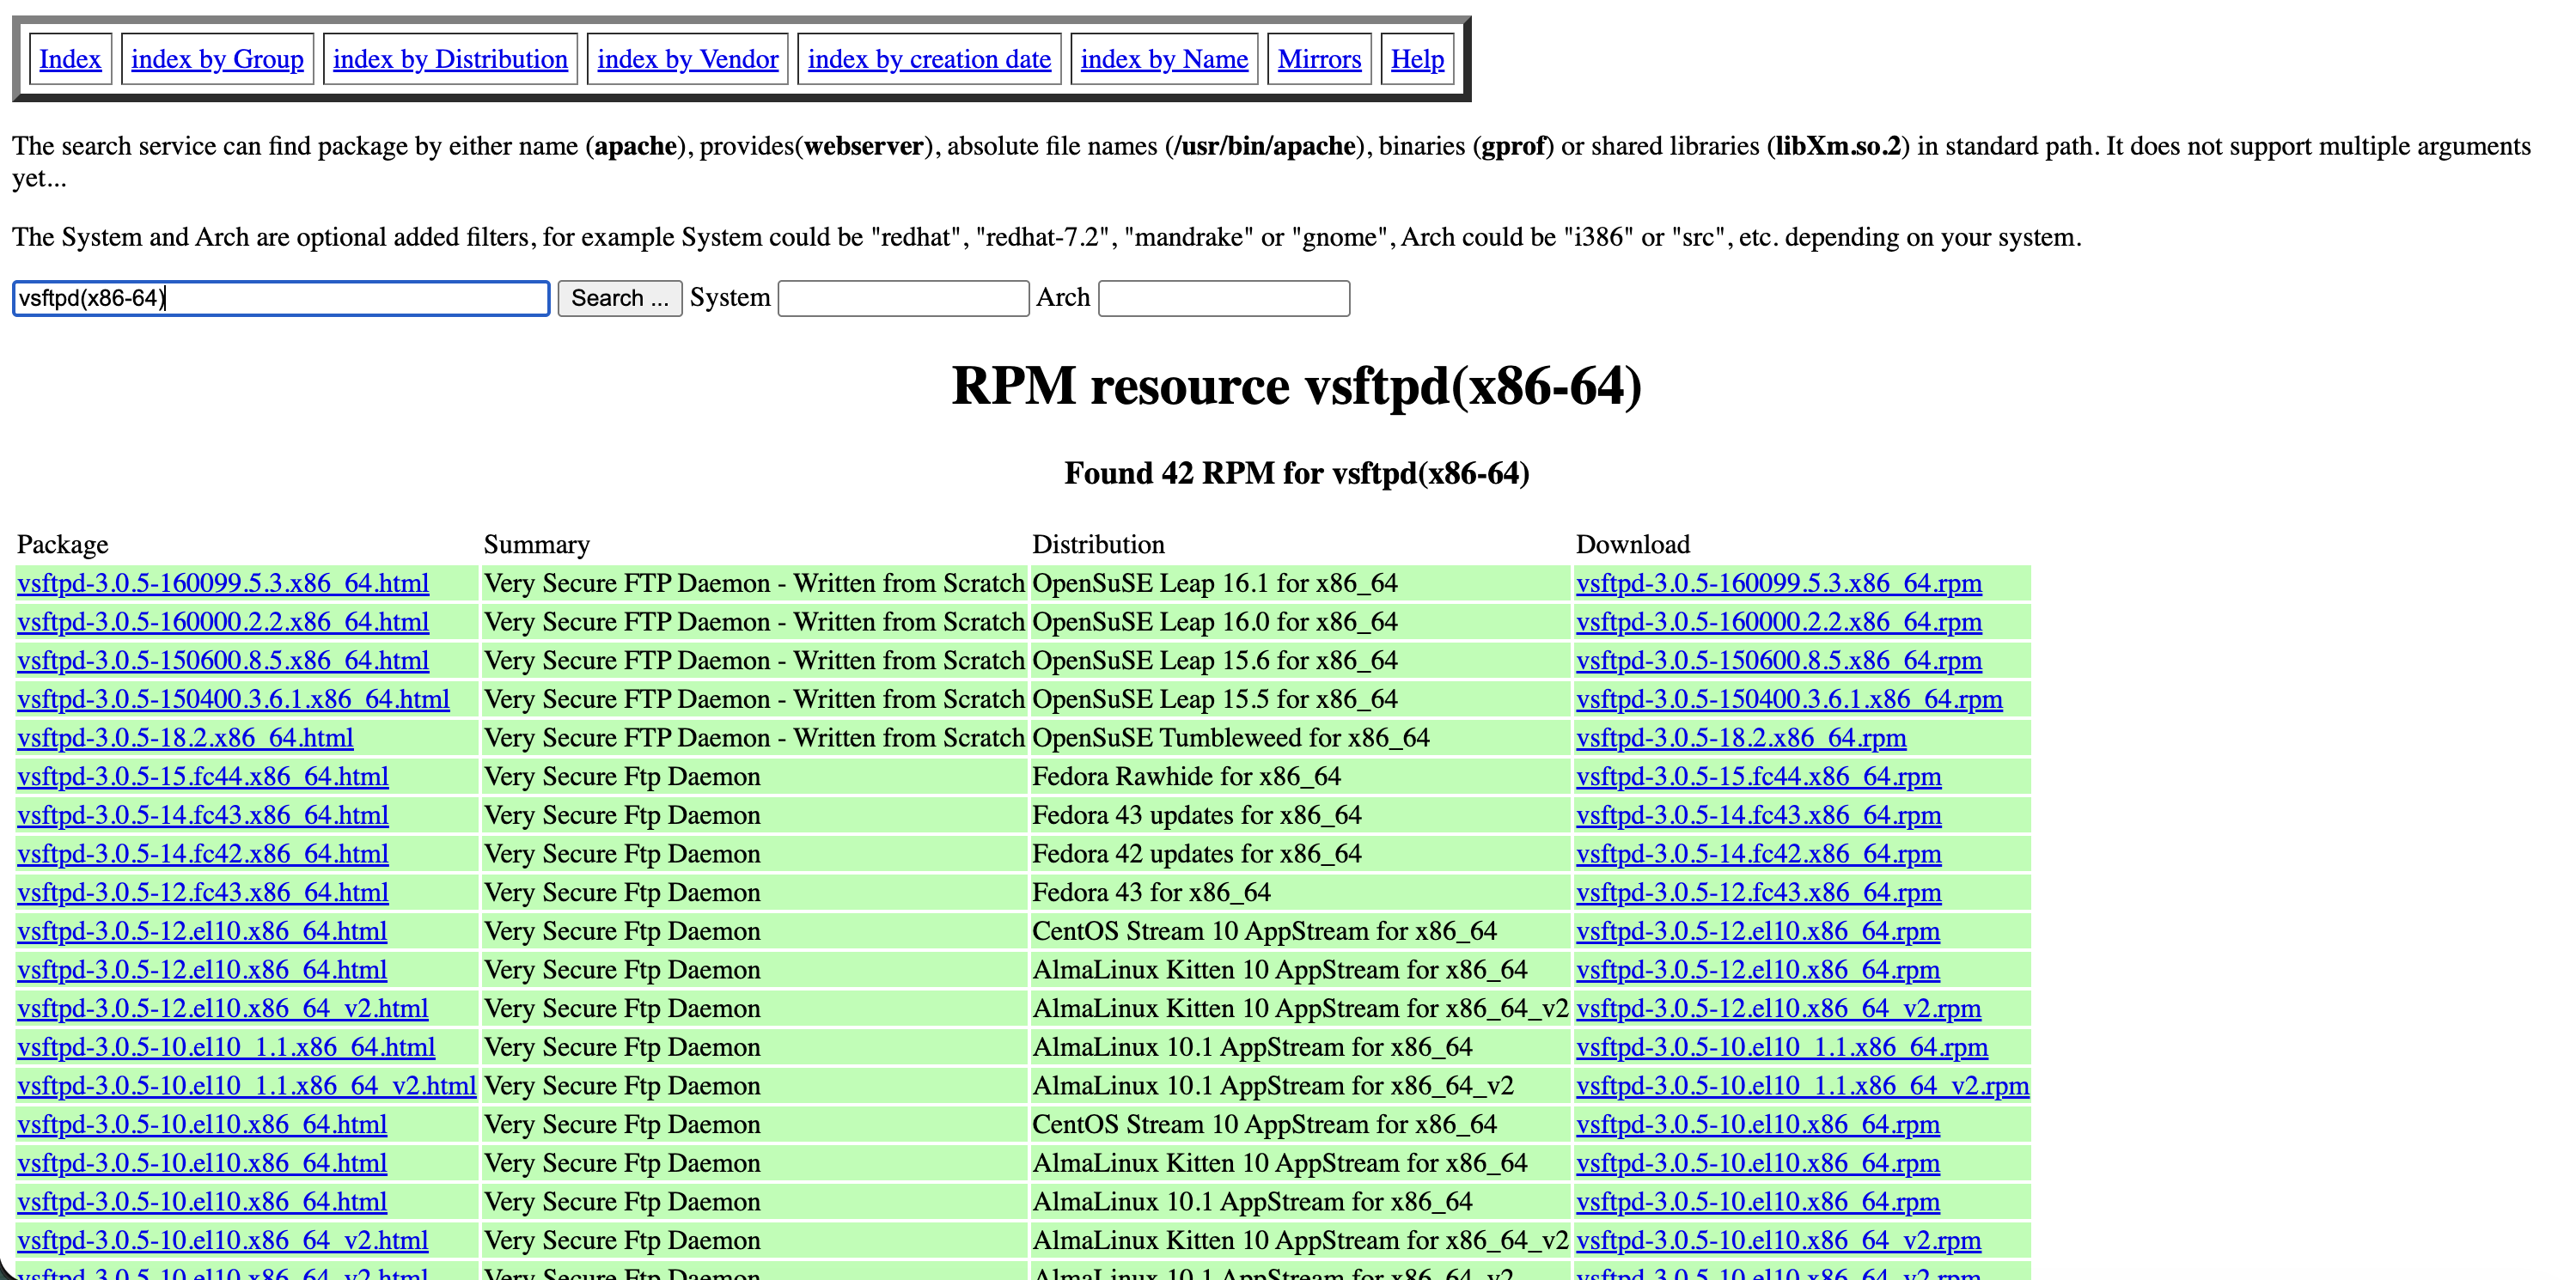
Download: vsftpd-3.0.3-36.el8.x86_64.rpm (choose the version for your system; el8 is generally compatible with XC systems).
- Upload to the server:
scp vsftpd*.rpm root@server:/root - Install:
rpm -ivh vsftpd-3.0.3-36.el8.x86_64.rpm - Verify:
vsftpd -v - Output:
vsftpd: version 3.0.3
This confirms a successful installation.
3. Online Installation
# Ubuntu / Debian:apt install vsftpd -y# CentOS / OpenEuler / Anolis:yum install vsftpd -y# RockyLinux:dnf install vsftpd -y4. Core vsftpd Configuration
Configuration file: /etc/vsftpd/vsftpd.conf
Edit with: nano /etc/vsftpd/vsftpd.conf
5. Key Configuration Details
Basic Security Configuration
- anonymous_enable=NO → Disable anonymous login
- local_enable=YES → Allow local users
- write_enable=YES → Allow uploads
- local_umask=022 → Default permissions
- userlist_enable=YES → Enable the denylist
Listening Configuration
# Default configurationlisten=NOlisten_ipv6=YES# IPv4 onlylisten=YESlisten_ipv6=NOUser Isolation
chroot_local_user=YESallow_writeable_chroot=YESchroot_list_enable=YESchroot_list_file=/etc/vsftpd/user_listPurpose:
- Prevent users from accessing system directories.
- Must be enabled in production.
Passive-Mode Configuration
pasv_enable=YESpasv_min_port=10000pasv_max_port=10030pasv_address=192.168.1.1Cloud servers must specify a public IP, otherwise connections will fail.
Configure the FTP Root Directory
local_root=/home/ftp/data
6. Create the FTP Directory
mkdir -p /home/ftp/data7. Create an FTP User
vsftpd authenticates against system accounts.
- Create:
adduser ftpuser1 - Set the password:
passwd ftpuser1
8. User-Directory Permissions
# Create the directory
cd /home/ftp/datamkdir ftpuser1
# Grant ownership and permissionschown -R ftpuser1:ftpuser1 /home/ftp/data/ftpuser1chmod 755 /home/ftp/datachmod 755 /home/ftp/data/ftpuser19. Start the Service
- Start:
systemctl start vsftpd - Stop:
systemctl stop vsftpd - Enable at boot:
systemctl enable vsftpd - Restart:
systemctl restart vsftpd - Check status:
systemctl status vsftpd
10. Firewall Configuration
firewalld
firewall-cmd --add-port=21/tcp --permanentfirewall-cmd --add-port=20/tcp --permanentfirewall-cmd --add-port=10000-10030/tcp --permanentfirewall-cmd --reloadiptables
iptables -A INPUT -p tcp --dport 21 -j ACCEPTiptables -A INPUT -p tcp --dport 20 -j ACCEPTiptables -A INPUT -p tcp --dport 10000:10030 -j ACCEPTiptables-save > /etc/sysconfig/iptables11. Test the Connection
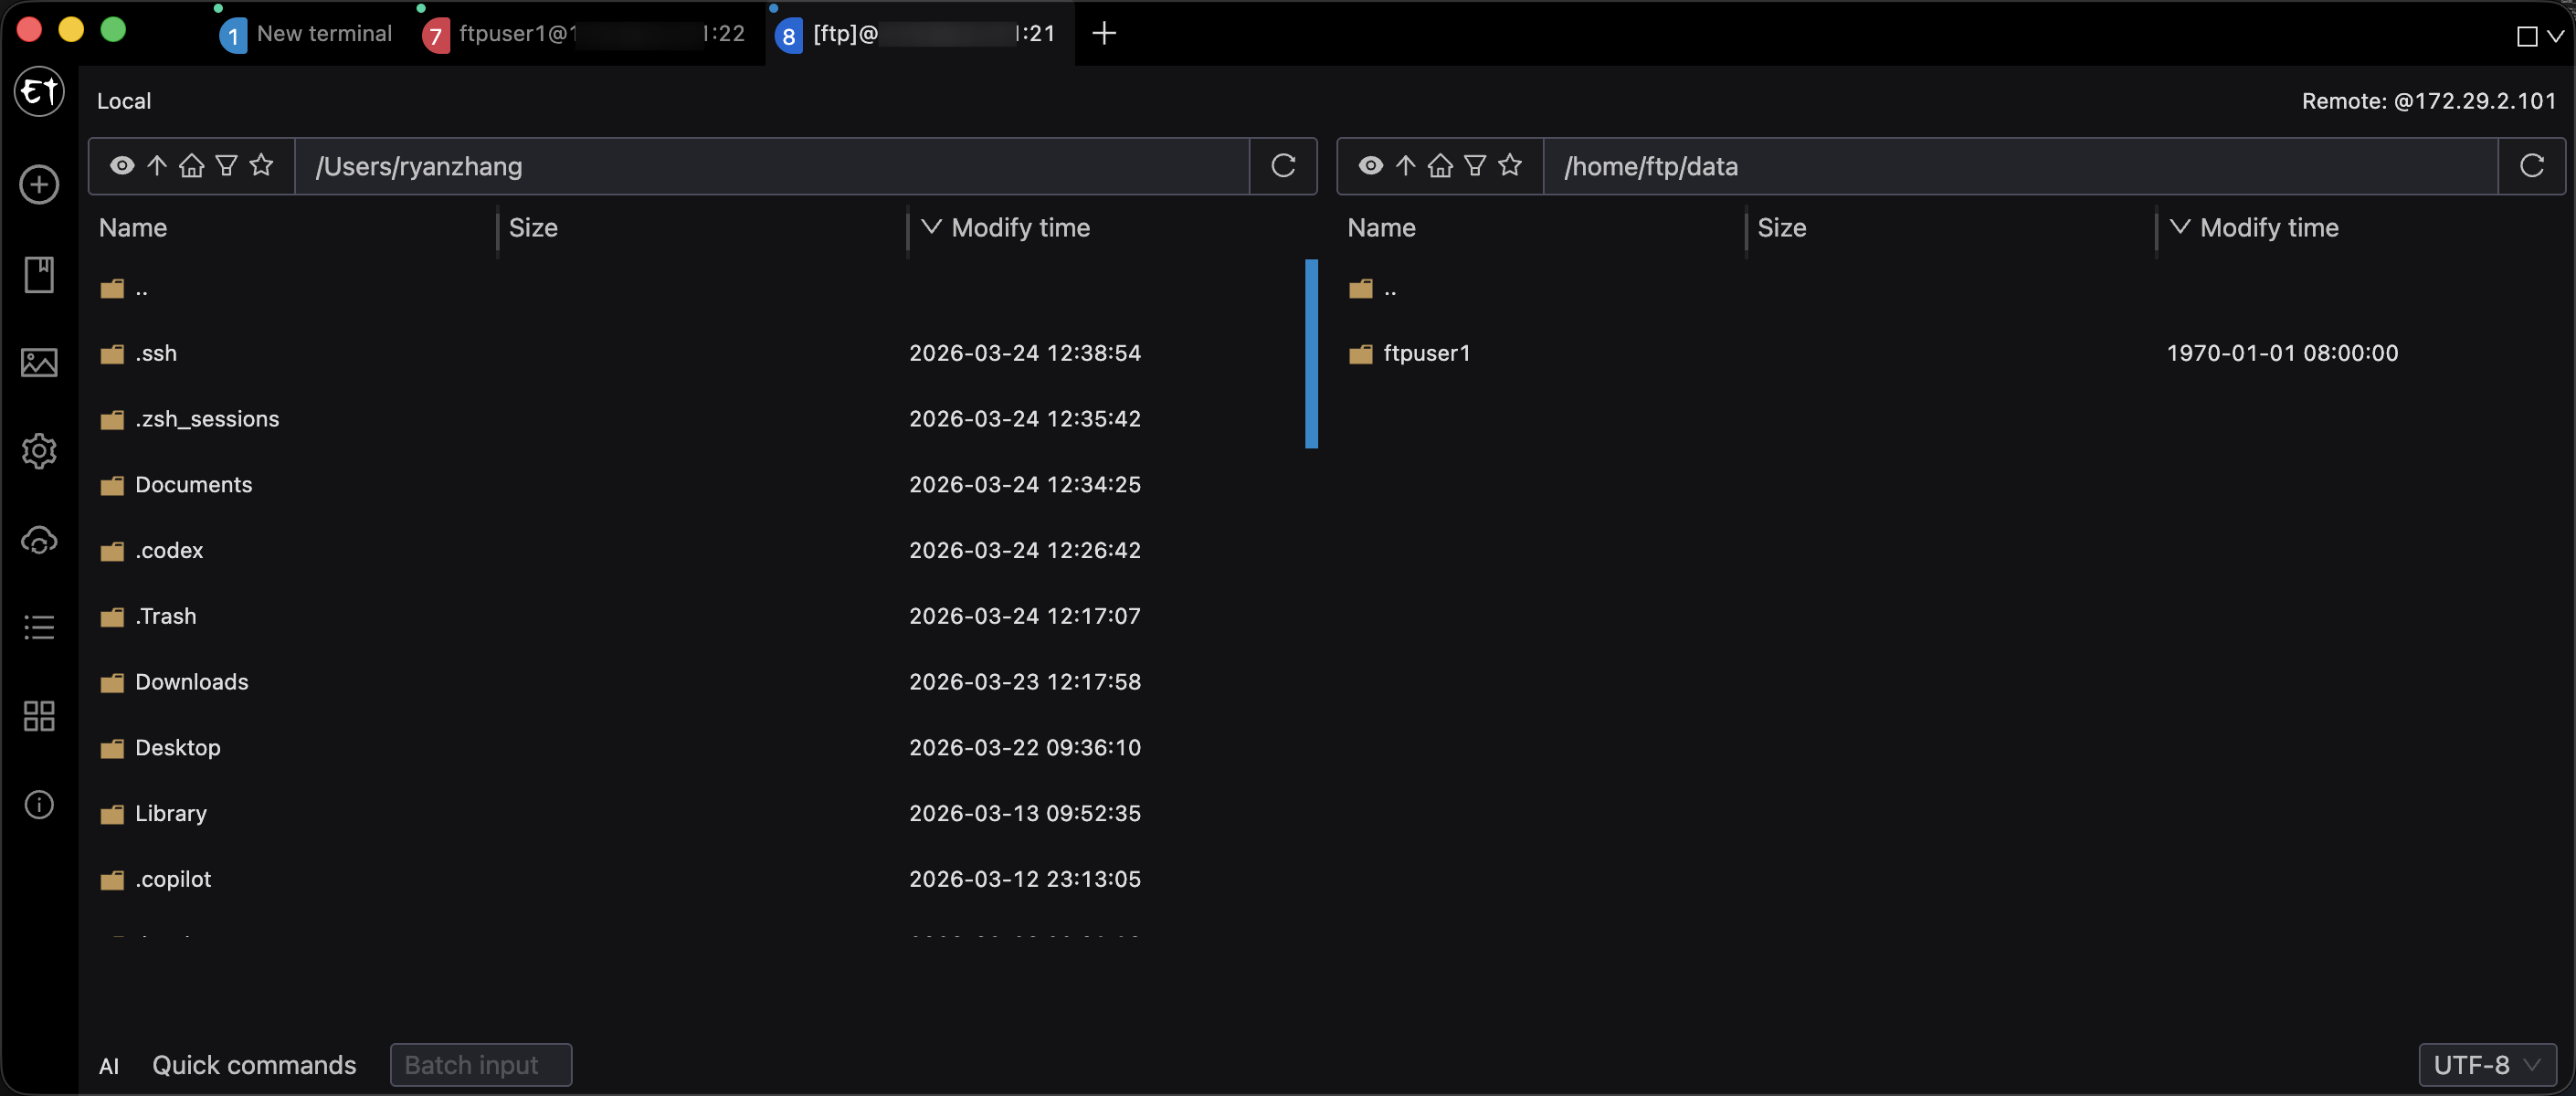
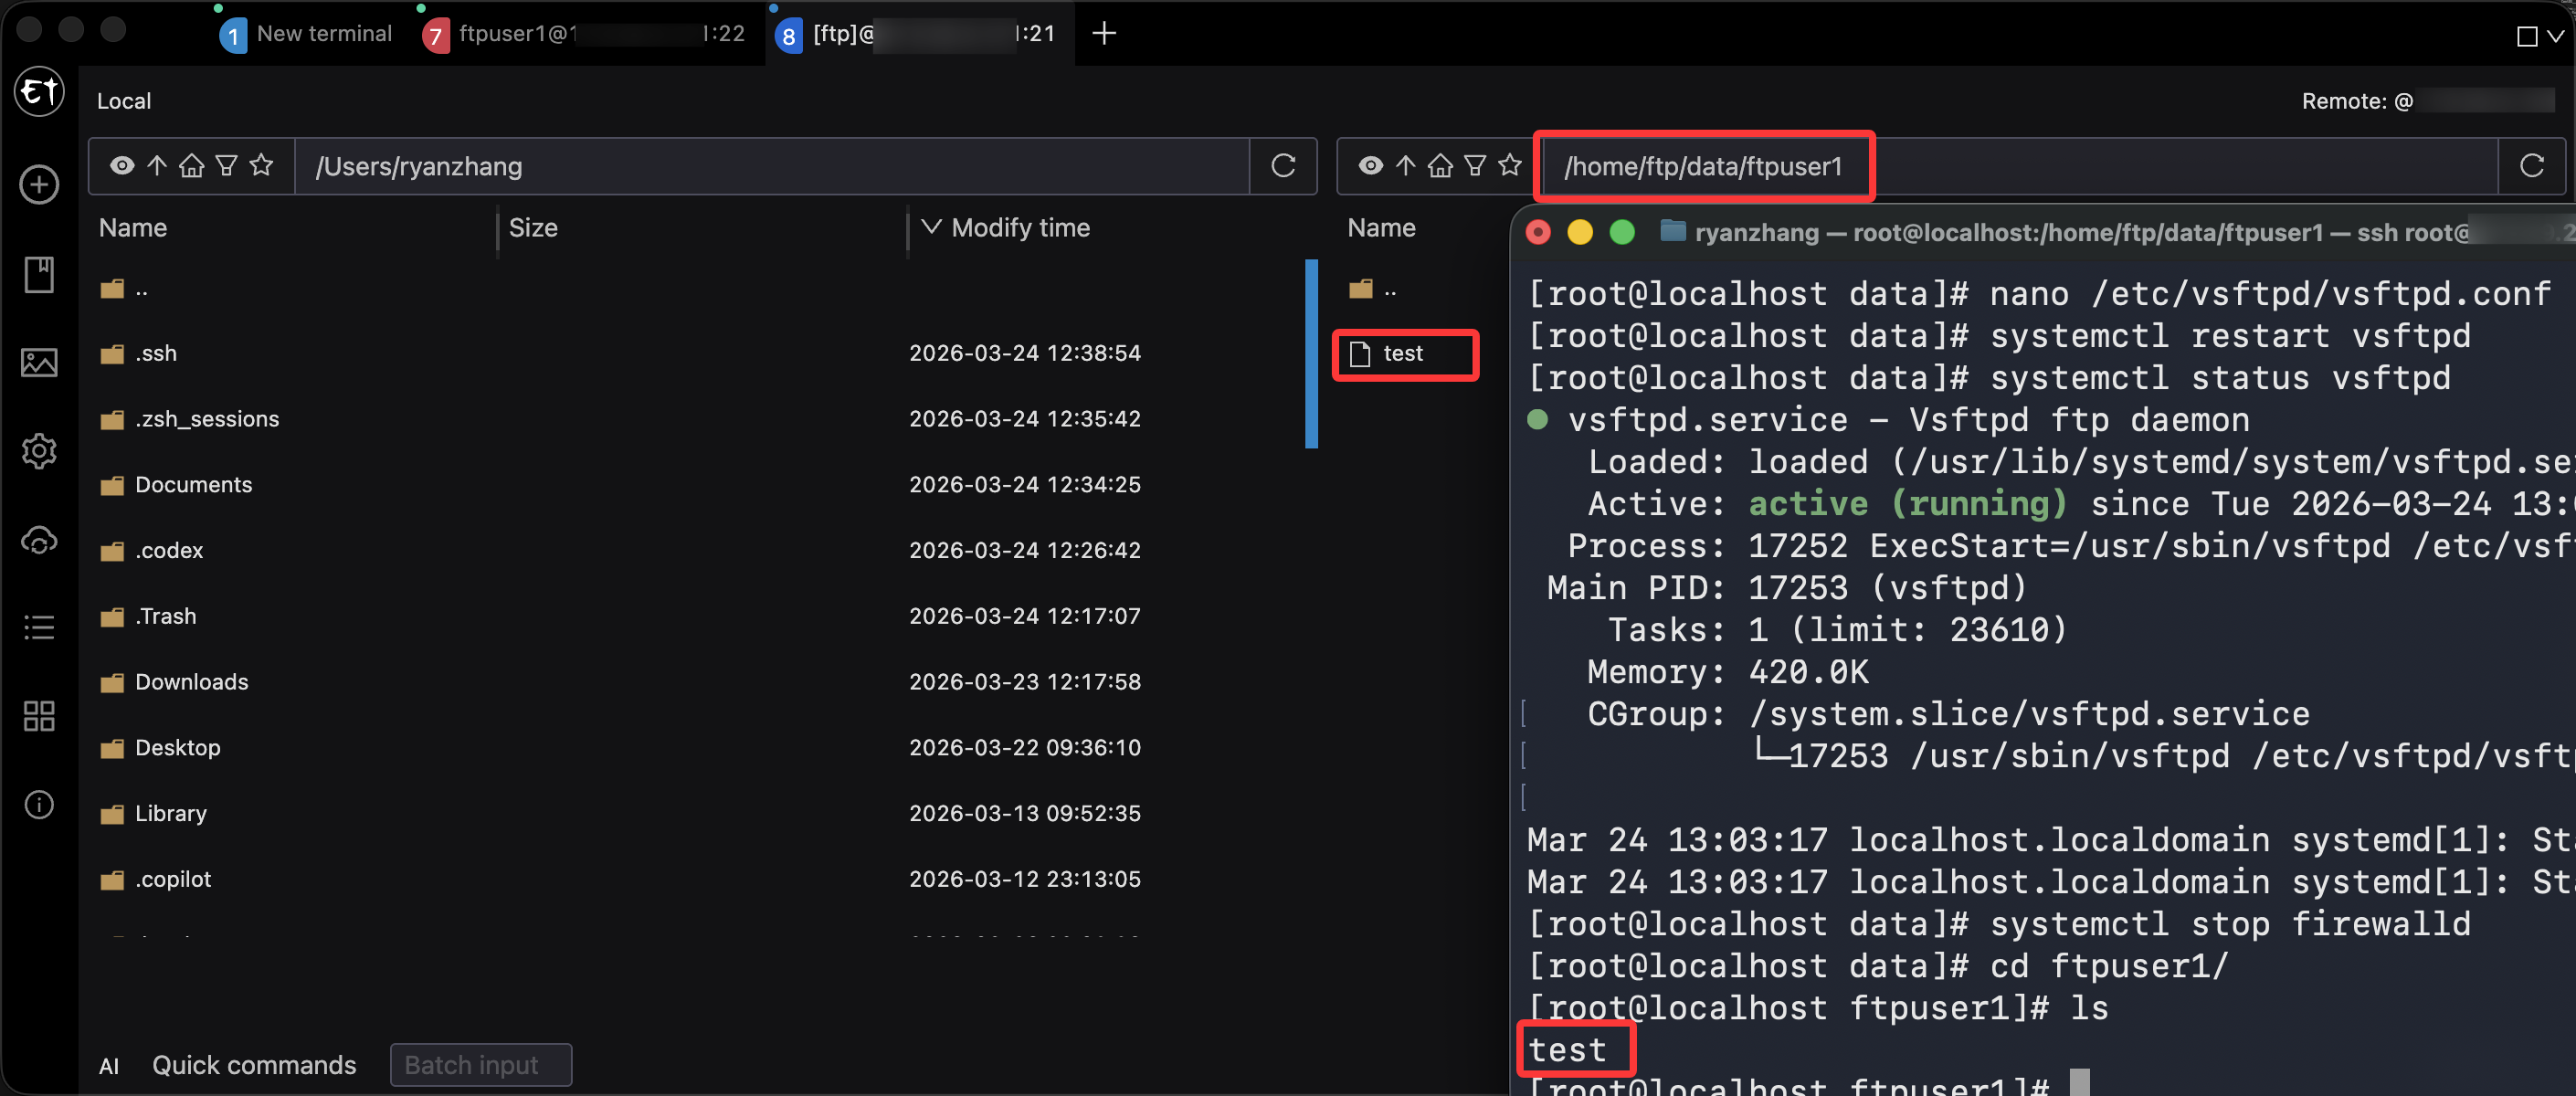
12. Security Recommendations
Recommendation: prevent system accounts from logging in
nano /etc/vsftpd/user_list# Add the following usersrootbindaemonRestrict User Login
Enable the allowlist: userlist_deny=NO
Then user_list becomes the list of permitted users.
Log Auditing
- Enable:
xferlog_enable=YES - Log path:
/var/log/xferlog
Support & Share
If this article helped you, please share or support!